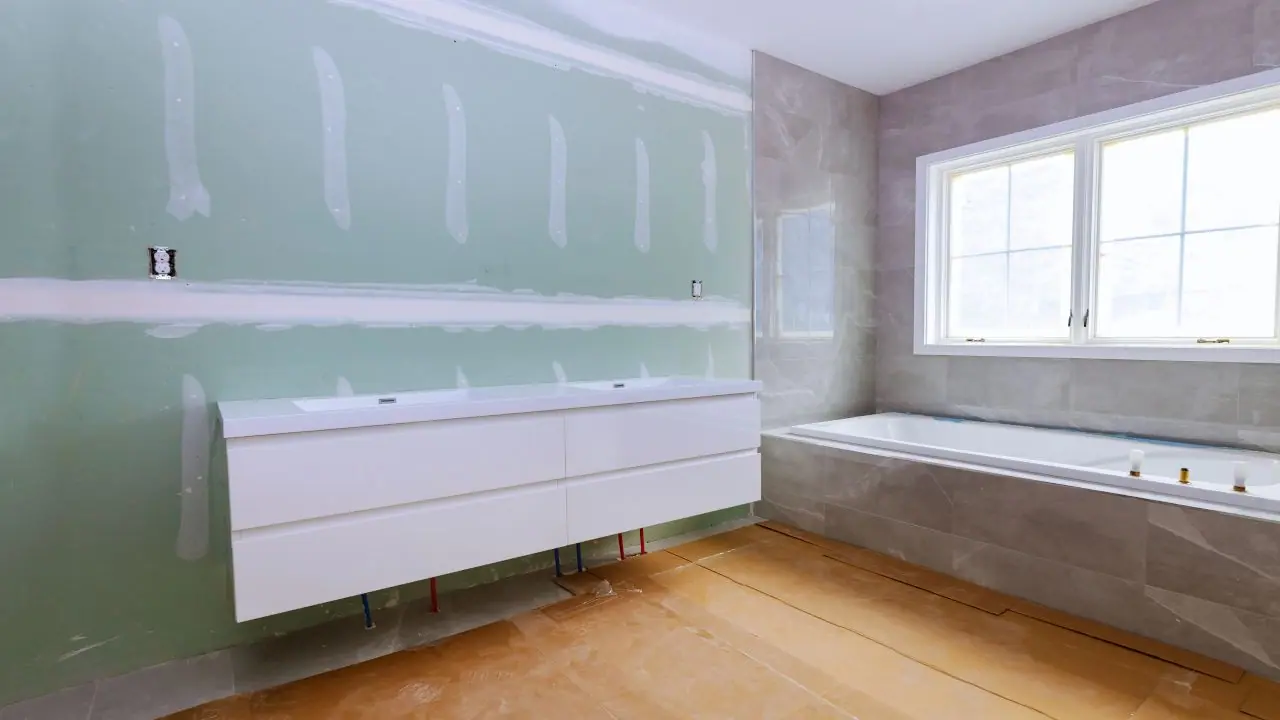
Preparation
Place a drop cloth or plastic sheeting around the work area to prevent spilling paint on floors. Cover any surface you want to protect, such as countertops where they join cabinets.
Take everything out of the cabinetry and drawers. Place masking tape on the inside of each cabinet door and drawer and identify which cabinet the door or drawer was removed from. It will need to be moved as you prime and paint each side of your door or drawer.
To remove the doors and hinges from your cabinets, you may also want to replace all the hardware to give your cabinets a new look. Leave the drawer fronts attached if drawer front removal is difficult.
Cleaning/sanding
I first wash the doors, drawers, and cabinets with soap and water and then wipe them down with clean water. If you are painting the cabinet interiors, make sure they are also thoroughly cleaned. TSP (Trisodium Phosphate) or a less toxic substitute can be used for stubborn grease and grime. Keep hands on TSP when handling it or using it.
A putty knife and suitable filler are necessary to repair damage caused by nicks or dents on cabinet bases, doors, and drawers. Apply the product to the surfaces and let it dry, then sand it smooth.
You may also sand the exterior of the cabinets with fine grit paper, along with the doors and drawer fronts. Primer and paint will adhere better to the surface. As you sand the trim and indentations around the door handles, you should aim to roughen the surfaces to create a solid base for your paint. Dust can be removed with a damp cloth when wiping down surfaces.
Priming
Brush, spray, or roll each front of a door and drawer before applying primer. If you have one, a paint sprayer will achieve a professional finish. The items can be rented from hardware stores or purchased in this location. Brush strokes should be smooth so they're less visible. Allow the primer to dry.
Reverse the cabinet doors and prime all sides. After the primer has dried, go over the edges again. For varnished cabinets, you should use an oil primer. An oil-based primer will adhere best to latex paint.
Painting
It is important to keep in mind that just like bathroom walls, the cabinets and vanity units need protection against moisture, humidity, staining, and chipping. Bathrooms are busier than other areas of the home, so they need paint that is easily washable and mildew-resistant.
Latex or oil-based paint are two different types of paint that are suitable for this task. Oil-based paint has a robust finish that may be appropriate for high-traffic areas and is less likely to show brushstrokes than latex paint. Nevertheless, oil-based paint takes a long time to dry, and brushes are cleaned with chemical solvents. The latex paint drys much faster and can be cleaned using water.
Choose from semi-gloss, gloss, satin, or eggshell (oil-based) paints for a professional, clean finish. When combined with the correct primer (check with the manufacturer's instructions when purchasing), all products are suitable.
Spray or use a synthetic paintbrush to apply latex paint. Use a brush or sprayer with a natural bristle brush or brush. Let dry completely before applying a second coat. Having a few thin coats is superior to having one or two thick ones. This gives a more durable surface, as well as a better finish.
Reattach the old (or new) hardware and assemble cabinets, draws, etc., after the last coat is completely dry.